CD Covers
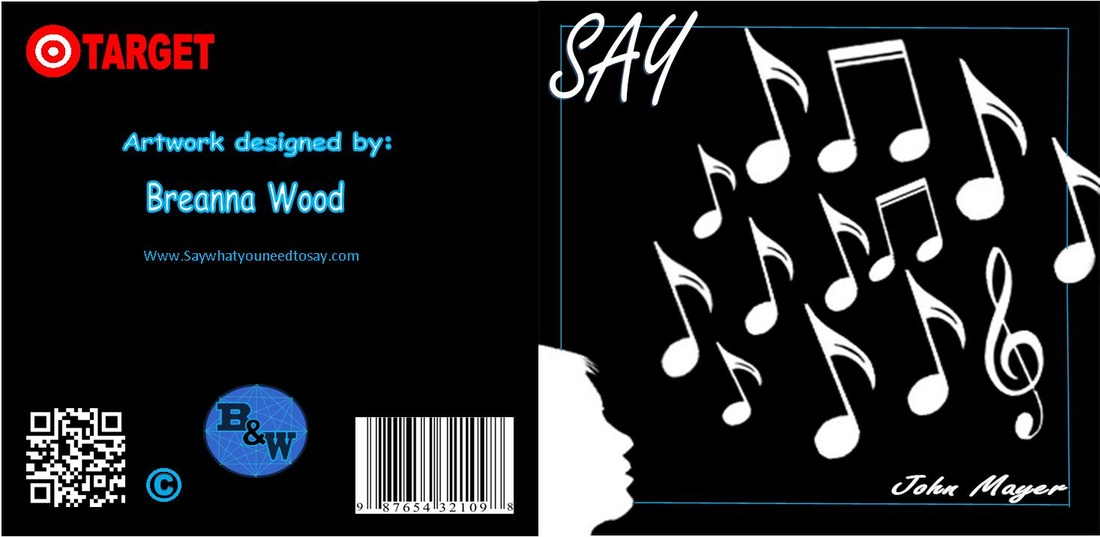
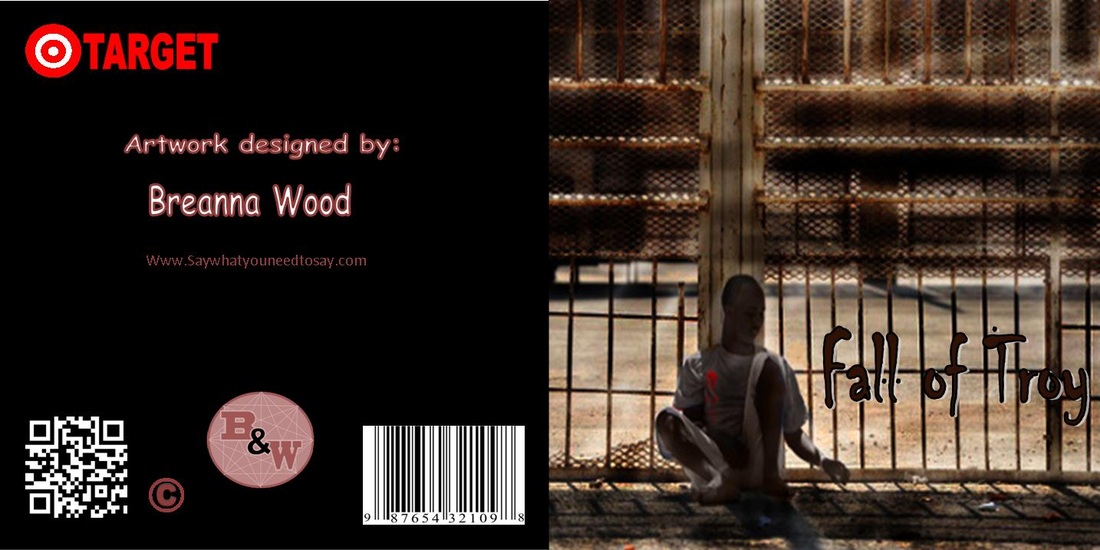
Reflection-The assignment was to create two different CD covers using original artwork created in Photoshop. The artwork was two or more layers of pictures from google that we transformed into cover art for our CD’s. On the inside there were lyrics and more original artwork created in Photoshop. On the back there was acknowledgements and band members. There was also a bar code and a sponsor on the back cover of the CD.
The input factors before you begin the project are a song, song lyrics, and knowing how to use publisher and Photoshop. We spent several classes before we began the projects, learning how to use the different tools and find our way around Photoshop. When we decided on what song we were doing, or were assigned a song, we had to research song lyrics. Then we had to research pictures on google to edit and use as original artwork.
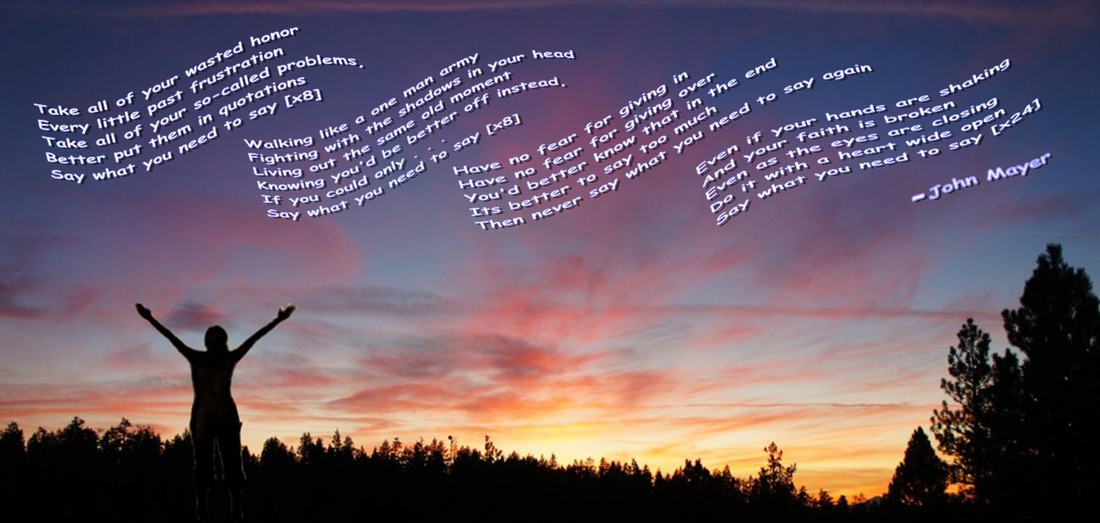
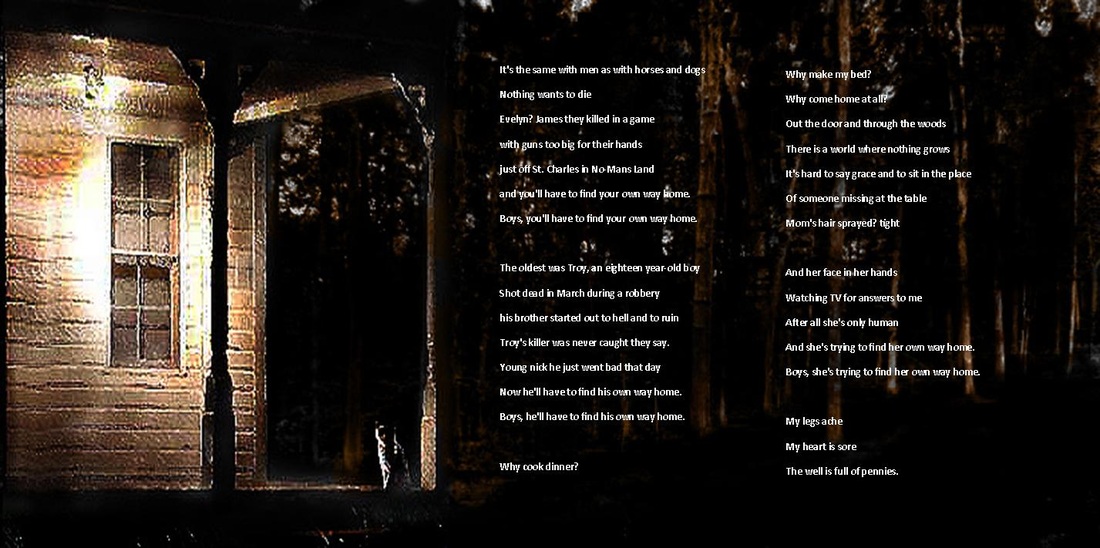
To begin the project we either chose a song or were assigned one. Then we had to search for the lyrics online. We also searched for pictures to create original artwork in Photoshop. Then we edited the photos into pictures with two or more layers to create a piece of artwork for the cover and for the inside. Then we had to put the lyrics we found on the internet on the inside of the CD cover. Lastly we had to create a back of the CD cover. The back was the only part that didn’t have artwork. We had to put a bar code, acknowledgements, and a sponsor. Then we had to print out the CD cover and use the cutter in the back of the class room to cut out the CD to the appropriate lengths.
The output factors of the projects were two CD cover slips with original artwork created in Photoshop and acknowledgements and sponsors. It was a cut out of a printed CD cover, with the appropriate lengths of a real CD cover. It should fit into the CD holder.
I received positive feedback on my CD covers. They were both very good with original artwork that was very creative. One thing that people noticed was that some spots on the CD cover were very pixely.
During the span of the project I learned how to use many tools in Photoshop. We learned how to use the clone stamp, the burn tool, the color replacement, the lasso tool, and many other useful tools to creat original artwork. I used the tools and sills I learned in Photoshop again in another project that I had to do for English. These tools were very helpful.
If I were to do the project again, I would try to find bigger pictures on google. The reason for this is because some of my pictures were very small. This is a problem when you go to use them in Photoshop and try to zoom in. What happens is the picture becomes all pixely and blockish, which doesn’t look good and brings your grade down.
The input factors before you begin the project are a song, song lyrics, and knowing how to use publisher and Photoshop. We spent several classes before we began the projects, learning how to use the different tools and find our way around Photoshop. When we decided on what song we were doing, or were assigned a song, we had to research song lyrics. Then we had to research pictures on google to edit and use as original artwork.
To begin the project we either chose a song or were assigned one. Then we had to search for the lyrics online. We also searched for pictures to create original artwork in Photoshop. Then we edited the photos into pictures with two or more layers to create a piece of artwork for the cover and for the inside. Then we had to put the lyrics we found on the internet on the inside of the CD cover. Lastly we had to create a back of the CD cover. The back was the only part that didn’t have artwork. We had to put a bar code, acknowledgements, and a sponsor. Then we had to print out the CD cover and use the cutter in the back of the class room to cut out the CD to the appropriate lengths.
The output factors of the projects were two CD cover slips with original artwork created in Photoshop and acknowledgements and sponsors. It was a cut out of a printed CD cover, with the appropriate lengths of a real CD cover. It should fit into the CD holder.
I received positive feedback on my CD covers. They were both very good with original artwork that was very creative. One thing that people noticed was that some spots on the CD cover were very pixely.
During the span of the project I learned how to use many tools in Photoshop. We learned how to use the clone stamp, the burn tool, the color replacement, the lasso tool, and many other useful tools to creat original artwork. I used the tools and sills I learned in Photoshop again in another project that I had to do for English. These tools were very helpful.
If I were to do the project again, I would try to find bigger pictures on google. The reason for this is because some of my pictures were very small. This is a problem when you go to use them in Photoshop and try to zoom in. What happens is the picture becomes all pixely and blockish, which doesn’t look good and brings your grade down.
|
|
|
|
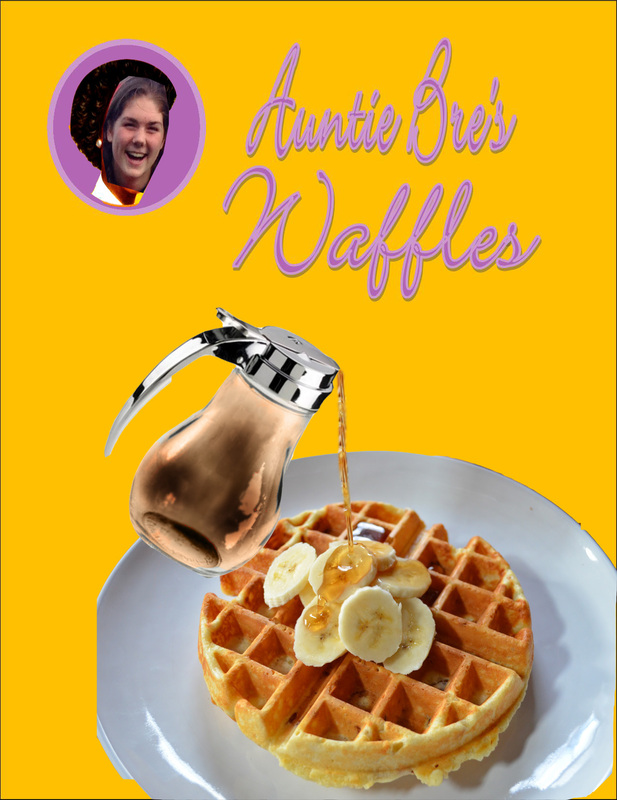
Waffle Box
The project was to create a design for waffle box. We did research on this topic by testing and making waffles in class. After we ate the waffles we began the project to create a waffle box design of our own using what we learned from the example waffle box. The first thing we did was find a picture of waffles and then using publisher we put it on the cover of our waffle box. Next we had to come up with a name for the Waffle Company or product. Lastly we had to add our face to the waffle box as a requirement. Then when were done, the final product looked like the front face of a waffle box that you would buy at a store. Then using feedback from peers and my own self-reflection, I decided that if I were to do the project again, that I would blend the face on the picture of Aunt Jemima.
Calendar Project
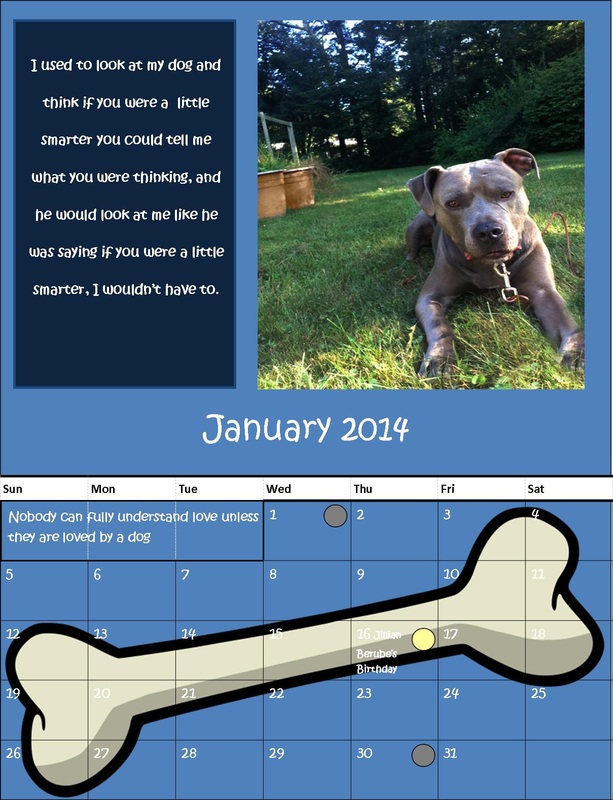
For the first month of the year of 2014, January, the theme is my dog.
|
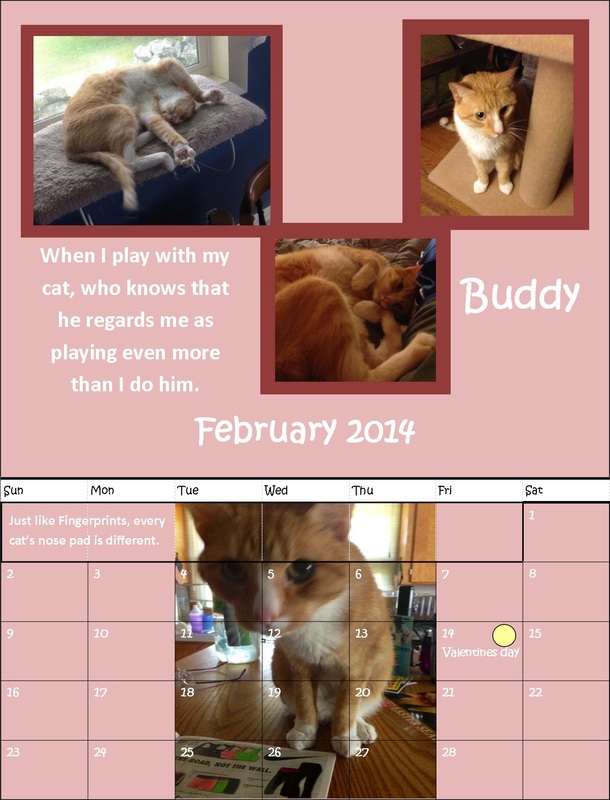
For the second month of 2014, February, the theme is my cat Buddy.
|
