Projects
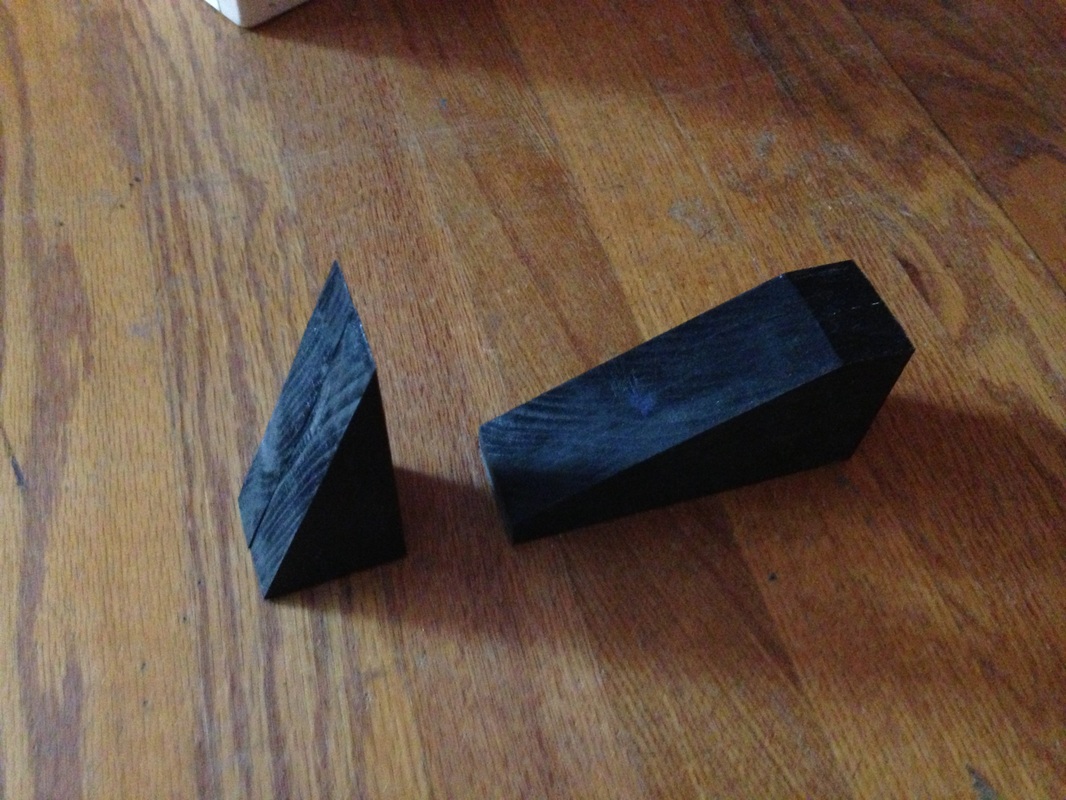
Blocks in a Box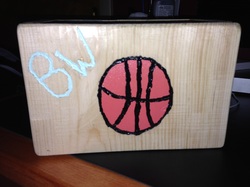
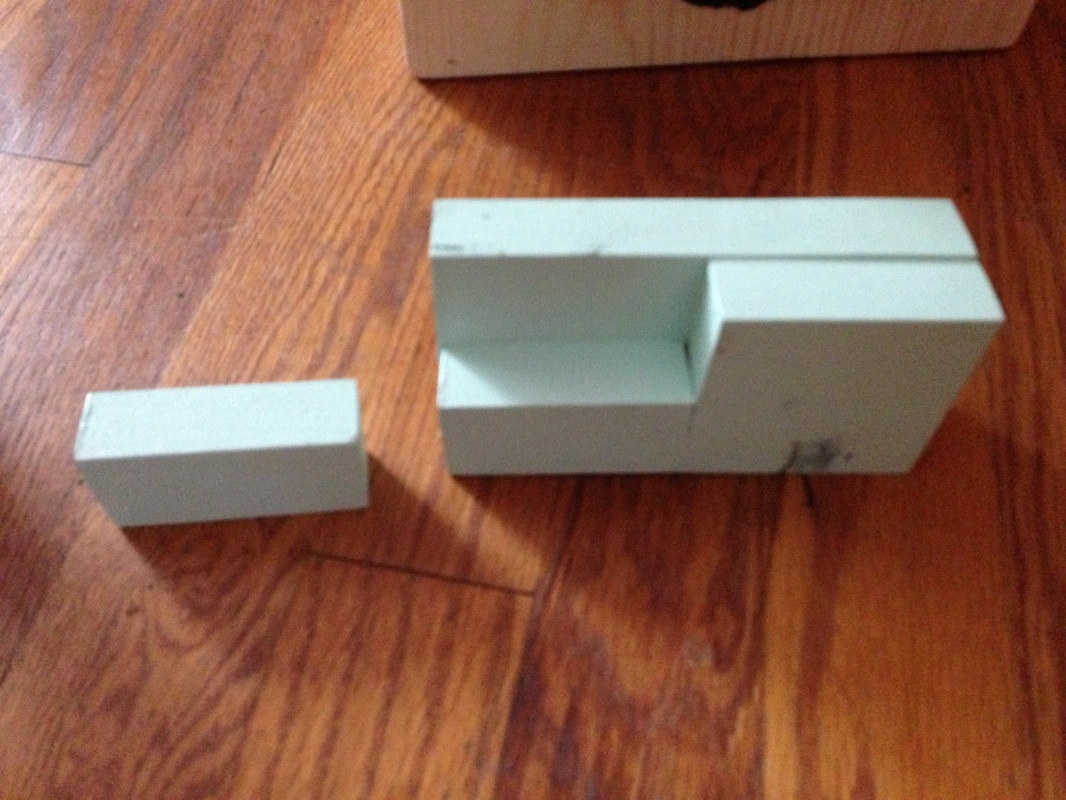
My Box
|
Blocks in a boix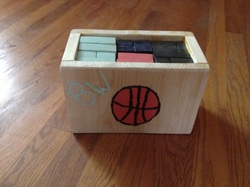
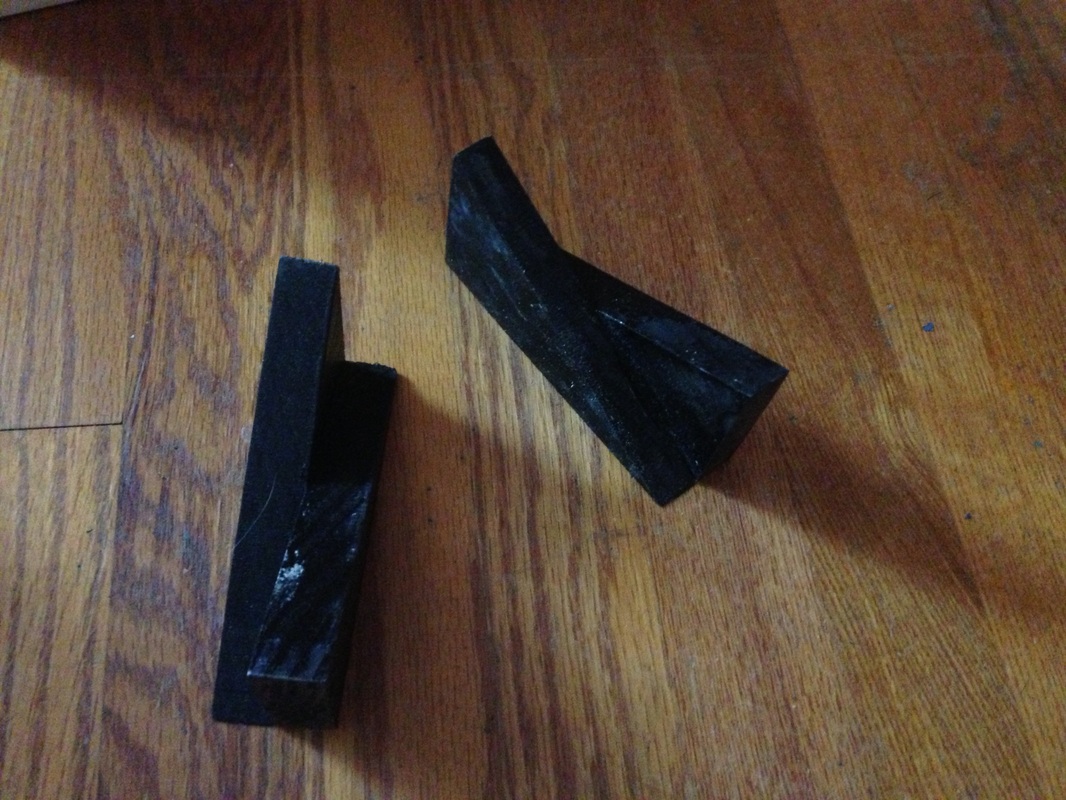
My Blocks in My Box
|
MY BLOCKS
|
|
|
|
|
|
Blox in a Box
The assignment was to create the blocks from our isometric drawings and then create a bow that would hold the six blocks. My input factors were knowing how to look at an isometric drawing, read it, understand it, and make a life version of the drawing in wood. You also needed to know how to read the scale measurements and convert it back to real life measurements to create the blocks. The final output was a box that had a design on it and six painted blocks inside the box. The feedback was constructive criticism about what i could do better or if i needed help with the measurements of the blocks. I learned how to look at an isometric drawing and create an actual model of the object. We learned how to use the dremel. In tbe real world this is used in construction and other jobs that they build things with blue prints on a scale. If i did the project again, i would have painted the box that held the blocks.
Steps
1. We had to draw isometric drawings of the blocks
2. We created the actual blocks out of wood
3. Then we painted the blocks
4. Then we made the box to hold the blocks
5. Then we painted or dremmeled the box
6. Last we put the blocks in the box
2. We created the actual blocks out of wood
3. Then we painted the blocks
4. Then we made the box to hold the blocks
5. Then we painted or dremmeled the box
6. Last we put the blocks in the box
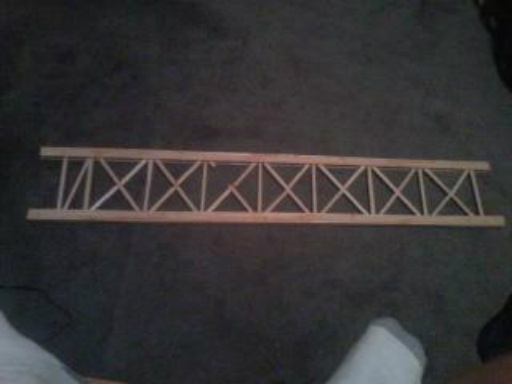
Truss Challenge
t
<<<<Truss
<<Nick's Feet
<<<<Truss
<<Nick's Feet
Truss Challenge
The assignment was to create a truss that would withstand a much weight as possible. The input factors were knowing how to use the ban saw and the ripper. The final output was a broken truss once you tested it. The Feedback was positive. I learned about trusses and truss strength. They use this in the real world when building bridges. If i did this again, i would try to make it weigh less.
Steps
1. To draw the pattern and structure of the truss
2. To cut out wood and glue it in the pattern
3. Then test the truss
2. To cut out wood and glue it in the pattern
3. Then test the truss
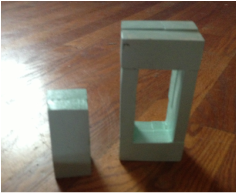
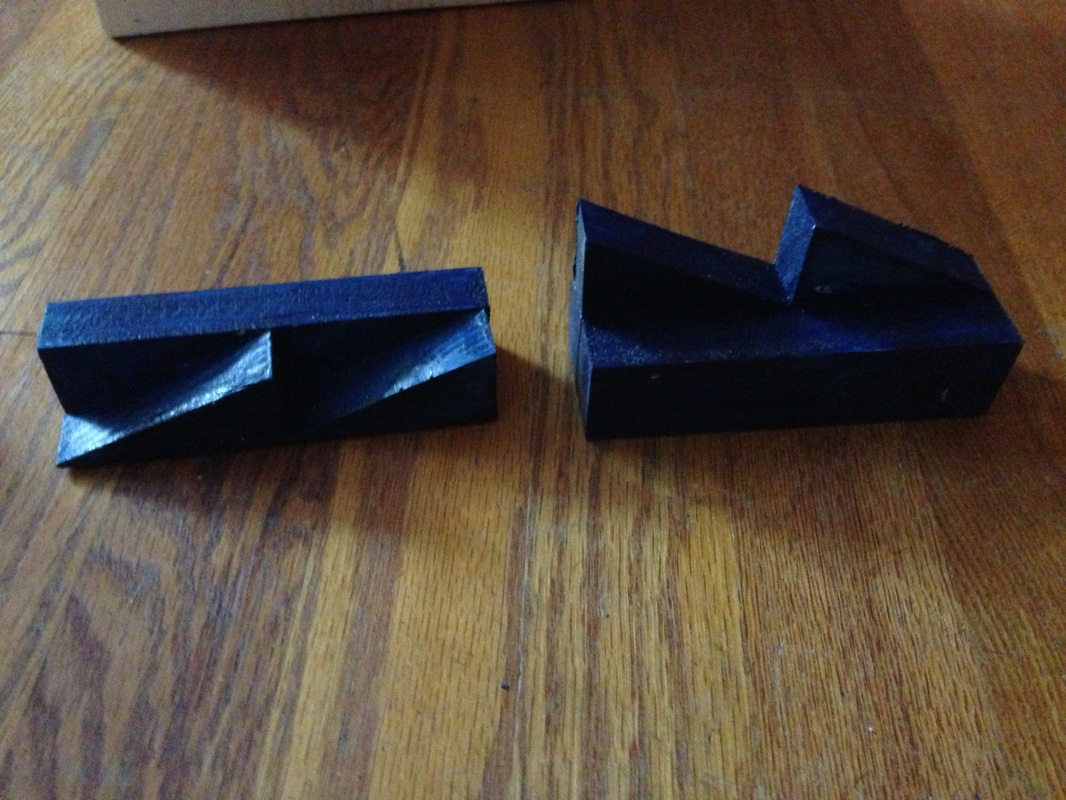
Concrete Initials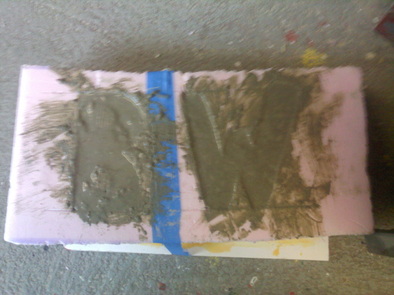
Concrete letter initials forms (Pink Foam)
|
Concrete initials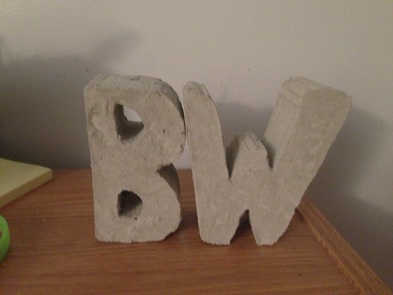
My Concrete Letter Initials
|
Concrete Initials
The assignment was to create concrete forms that were our initials. The input factors were to know how to use the ban saw to cut the pink foam and how to mix concrete. The final product was concrete letters of our initials. I received posotive feedback during the project about how i should cut the pink foam and how much concrete to put. I learned how to mix concrete and also how to use pink foam as a form for the concrete. This is used in the real world anywhere they have to pour concrete or another substance into forms to create a structure. If i did it again, i would make the holes in the B bigger and make the sides of the W bigger.
Steps
1. To draw your initials or name as block letters
2. To use a saw to cut a piece of pink foam off the big slate
3. To use the ban saw to cut out the letter in the pink foam
4. To cut pieces of pink foam out for the middle of the B
5. Glue the pink foam pieces to a white foam board
6. Pour the concrete and mixing it with water
7. Pour the concrete mix into the forms and shake so its flat
8. Let the concrete dry
9. Cut and tear the pink foam off the concrete once its dry
Scale Bridges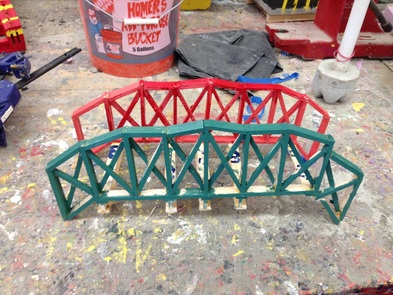
MY BRIDGE
|
Scale Bridges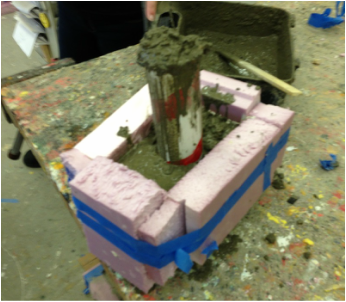
Concrete Column #EPICFAIL
|
Scale Model Bridge
The assignment was to create a scale model of a bridge. The input factors are to know how to rip strips of wood, use the ban saw, and make concrete forms to pour the columns. The final output was a painted bridge to scale with concrete/wood columns. There was good feedback from my peers. I learned how to create a model bridge to scale and make scale model I beams. This is used in the real world whenever they make scale model prototypes of a product first before they make the actual thing. If i did this again, i would have done better columns and painted the whole bridge the same color.
Steps
1. First we had to draw a scale models on graph paper of our bridge
2. Then we had to create the trusses
3. Then you make the I beams
4. Then you make the forms for the concrete columns
5. Then you pour the concrete into the columns
6. Then you put the trusses on the I Beams and put it on the columns
2. Then we had to create the trusses
3. Then you make the I beams
4. Then you make the forms for the concrete columns
5. Then you pour the concrete into the columns
6. Then you put the trusses on the I Beams and put it on the columns
